
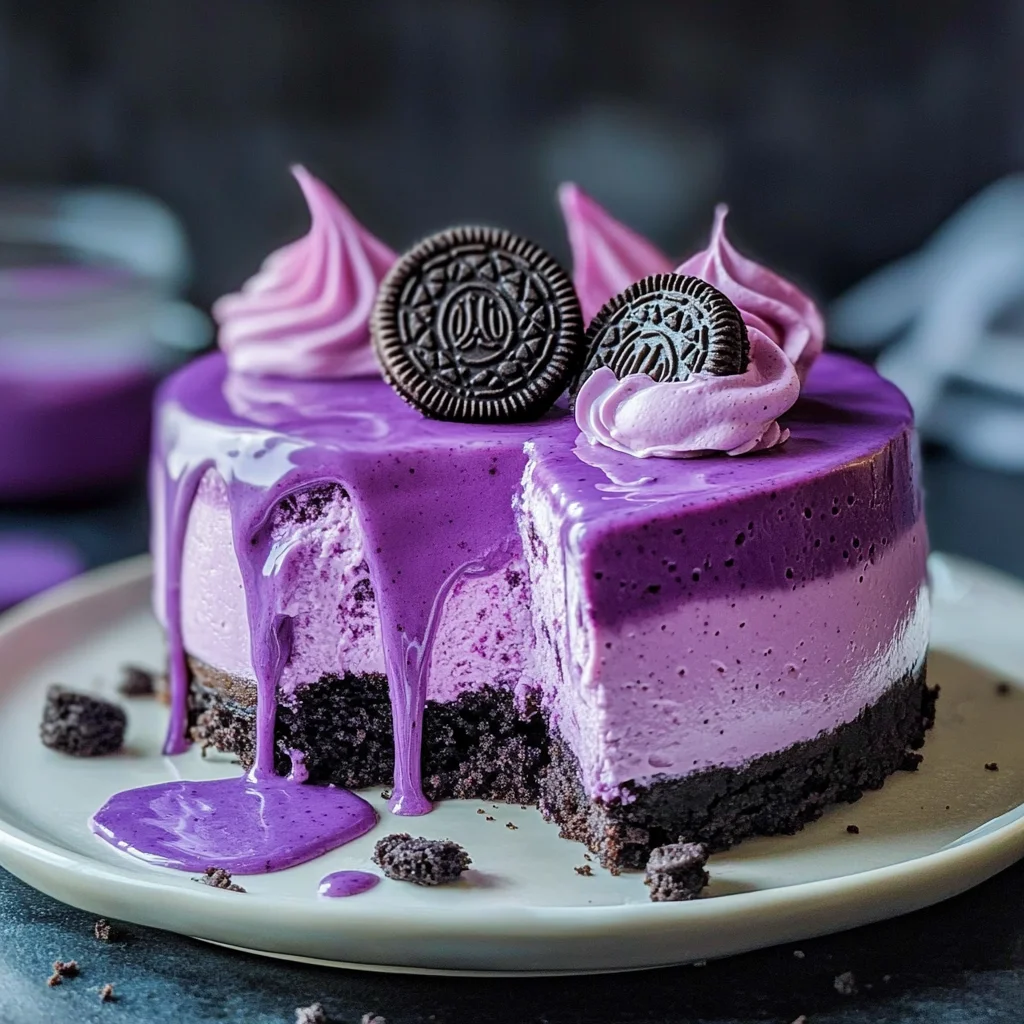
Imagine sinking your fork into a slice of Violet Oreo Cheesecake, where the creamy cheese filling dances with the crunch of crushed Oreo cookies, creating a symphony of textures that pleases both the eye and the palate. The vibrant violet hue is not just a feast for the eyes; it tantalizes your senses, inviting you to savor every rich bite as the sweet aroma envelops you, promising an unforgettable dessert experience.
This delightful treat evokes memories of family gatherings where laughter and joy filled the air, making it the perfect centerpiece for celebrations or cozy nights in. With each mouthful, you’ll be transported back to those cherished moments, anticipating a burst of flavor that combines nostalgia with indulgence. So grab your apron and prepare for a sweet adventure that will leave everyone asking for seconds!
Why Is Violet Oreo Cheesecake So Irresistibly Good?
Indulge in a heavenly blend of rich cream cheese and sweet vanilla, creating a luscious filling that melts in your mouth. Delight your taste buds with the crunchy texture of crushed Oreo cookies forming a perfectly buttery crust. Impress guests with its stunning violet hue that adds a vibrant touch to any occasion. Enjoy the no-bake convenience that makes this dessert a breeze to whip up, saving you time while still delivering show-stopping flavor. Satisfy everyone’s sweet tooth with its crowd-pleasing appeal, making it the ultimate treat for gatherings or special celebrations!
Ingredients for Violet Oreo Cheesecake
For the Crust
- 24 pieces Oreo cookies (crushed) – These form the deliciously rich base for your cheesecake, providing a perfect contrast to the creamy filling.
- 5 tablespoons unsalted butter (melted) – This helps bind the crushed cookies together, creating a sturdy and flavorful crust.
For the Filling
- 16 ounces cream cheese (softened) – The star of the cheesecake, it gives that signature creamy texture and tangy flavor.
- 1 cup sugar – Sweetens the filling beautifully, balancing the richness of the cream cheese.
- 1 teaspoon vanilla extract – Adds a warm and inviting flavor that complements the other ingredients.
- 1 cup heavy cream (whipped) – Lightens the filling and makes it luxuriously fluffy; be sure to whip until stiff peaks form.
- 1 tablespoon violet food coloring – Adjust this to achieve your desired vibrant hue for a stunning presentation.
- 1 tablespoon gelatin (dissolved in 2 tablespoons of water) – Helps set the cheesecake, ensuring it holds its shape when sliced.
For the Topping
- 1 cup whipped cream (for garnish) – A light and airy topping that enhances both flavor and appearance of your Violet Oreo Cheesecake.
- 4 pieces Oreo cookies (for decoration) – Crumble or place them whole on top for an eye-catching finish that ties in with the crust.
How to Make Violet Oreo Cheesecake
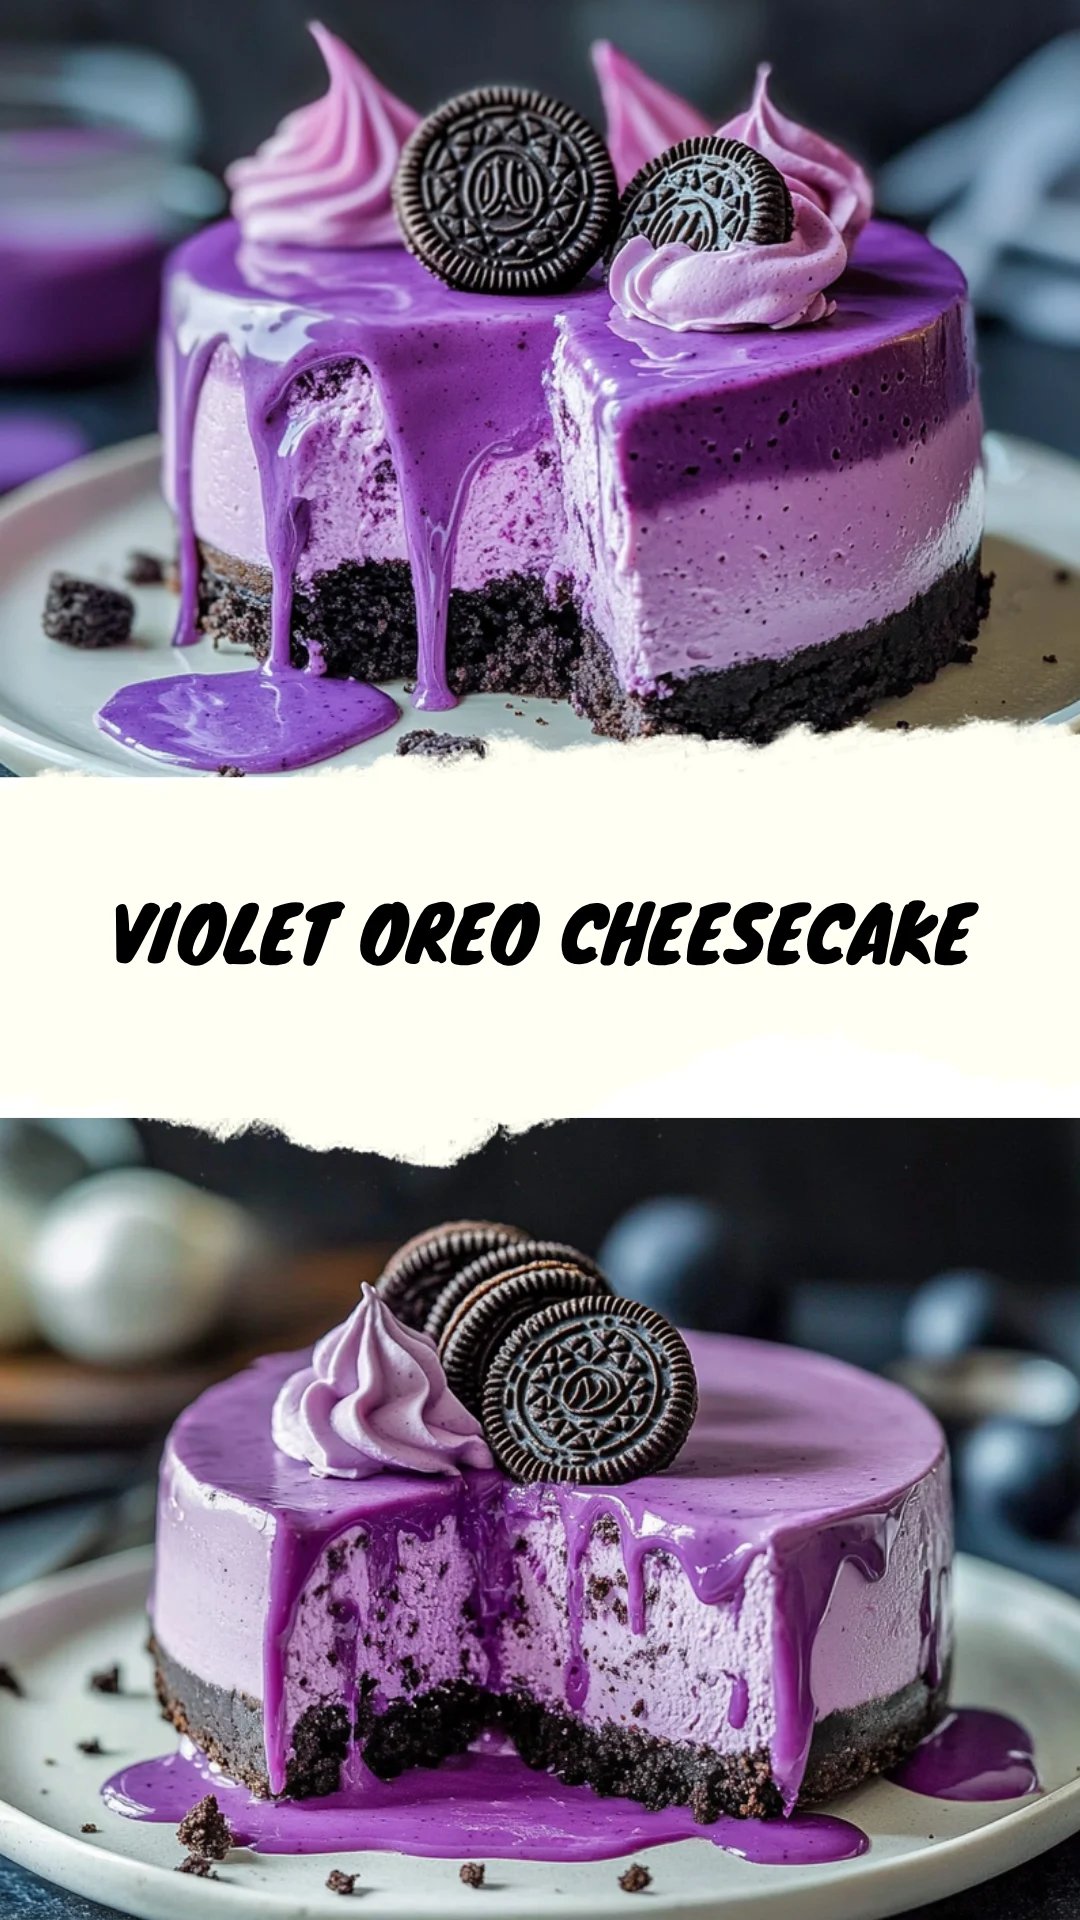
1. Preheat the oven to 350°F (175°C). In a mixing bowl, combine 24 crushed Oreo cookies with 5 tablespoons melted unsalted butter. Press this delightful mixture firmly into the bottom of a springform pan to form a delicious crust.
2. Beat together 16 ounces of softened cream cheese, 1 cup sugar, and 1 teaspoon vanilla extract in a large mixing bowl until smooth and creamy. This will form the luscious base for your filling.
3. Fold in 1 cup of whipped heavy cream gradually until the mixture is well combined and lightened in texture. You’ll want it to be fluffy and airy for that perfect cheesecake experience!
4. Add 1 tablespoon of violet food coloring and the dissolved gelatin (from 1 tablespoon gelatin mixed into 2 tablespoons water) to the mixture. Stir gently until beautifully colored evenly throughout.
5. Pour the vibrant filling over your prepared crust in the springform pan. Smooth the top with a spatula, creating a lovely surface ready for chilling.
6. Refrigerate for at least 4 hours, or until set firmly. Patience is key here; you want that decadent filling to hold its shape perfectly when served!
7. Remove the cheesecake from the springform pan once set. Top generously with 1 cup of whipped cream and decorate with 4 Oreo cookies before serving for an extra touch of charm.
Optional: Drizzle some chocolate sauce on top for added sweetness!
Exact quantities are listed in the recipe card below.
Tips for the Best Violet Oreo Cheesecake
- Crust Consistency: Ensure your crushed Oreo cookies are fine for a smooth, firm crust. Larger pieces may lead to a crumbly texture.
- Cream Cheese Temperature: Always use softened cream cheese to avoid lumps in your filling. Cold cream cheese can result in an uneven mixture.
- Whipped Cream Fold: Gently fold the whipped cream into the cheese mixture. Overmixing can deflate the airy texture, compromising the cheesecake’s lightness.
- Color Adjustment: Start with a small amount of violet food coloring, then gradually add more until you reach your desired hue. Too much coloring can overpower the flavor.
- Setting Time: Allow the cheesecake to chill for at least 4 hours or overnight for best results. Rushing this step could lead to a runny filling.
- Decorative Touches: When garnishing with whipped cream and Oreo cookies, place them just before serving to maintain freshness and presentation of your Violet Oreo Cheesecake.
How to Store and Freeze Violet Oreo Cheesecake
- Fridge: Store your Violet Oreo Cheesecake in an airtight container for up to 5 days to keep it fresh and creamy.
- Freezer: Wrap individual slices tightly in plastic wrap, then foil, for up to 2 months. Thaw in the fridge overnight before serving.
- Serving: For best results, enjoy the cheesecake chilled straight from the fridge. Garnish with whipped cream just before serving for that perfect finish!
- Avoid Room Temperature: Keep the cheesecake out of room temperature for more than 2 hours to maintain quality and safety.
Violet Oreo Cheesecake Variations
Feel free to let your creativity shine and customize this delightful dessert to suit your taste!
- Gluten-Free: Use gluten-free chocolate sandwich cookies for the crust to enjoy a similar flavor without the gluten.
- Nutty Twist: Add 1/2 cup finely chopped nuts, such as walnuts or pecans, to the crust for an added crunch and rich flavor. This enhances texture while keeping the Oreo essence.
- Minty Fresh: Incorporate 1 teaspoon of peppermint extract into the filling for a refreshing minty twist that complements the chocolate well. It’s perfect for those who love a hint of coolness in their sweets.
- Chocolate Lovers: Mix in 1/2 cup melted chocolate into the filling for an extra indulgent chocolate experience. The combination of violet and rich chocolate creates a stunning visual contrast.
- Fruit Infusion: Blend in 1/2 cup of pureed berries, like blueberries or raspberries, for a fruity flavor and natural color enhancement. This adds both taste and natural sweetness, making each slice even more delightful.
- Vegan Option: Substitute cream cheese with a vegan alternative and use coconut cream whipped for a dairy-free treat that’s just as luscious. Don’t forget to replace gelatin with agar-agar to keep it plant-based.
- Spiced Delight: Add 1/2 teaspoon of cinnamon or nutmeg to the crust for a warm spice note that beautifully complements the creamy filling. This twist brings an unexpected yet comforting flavor profile to your cheesecake.
Make Ahead Options
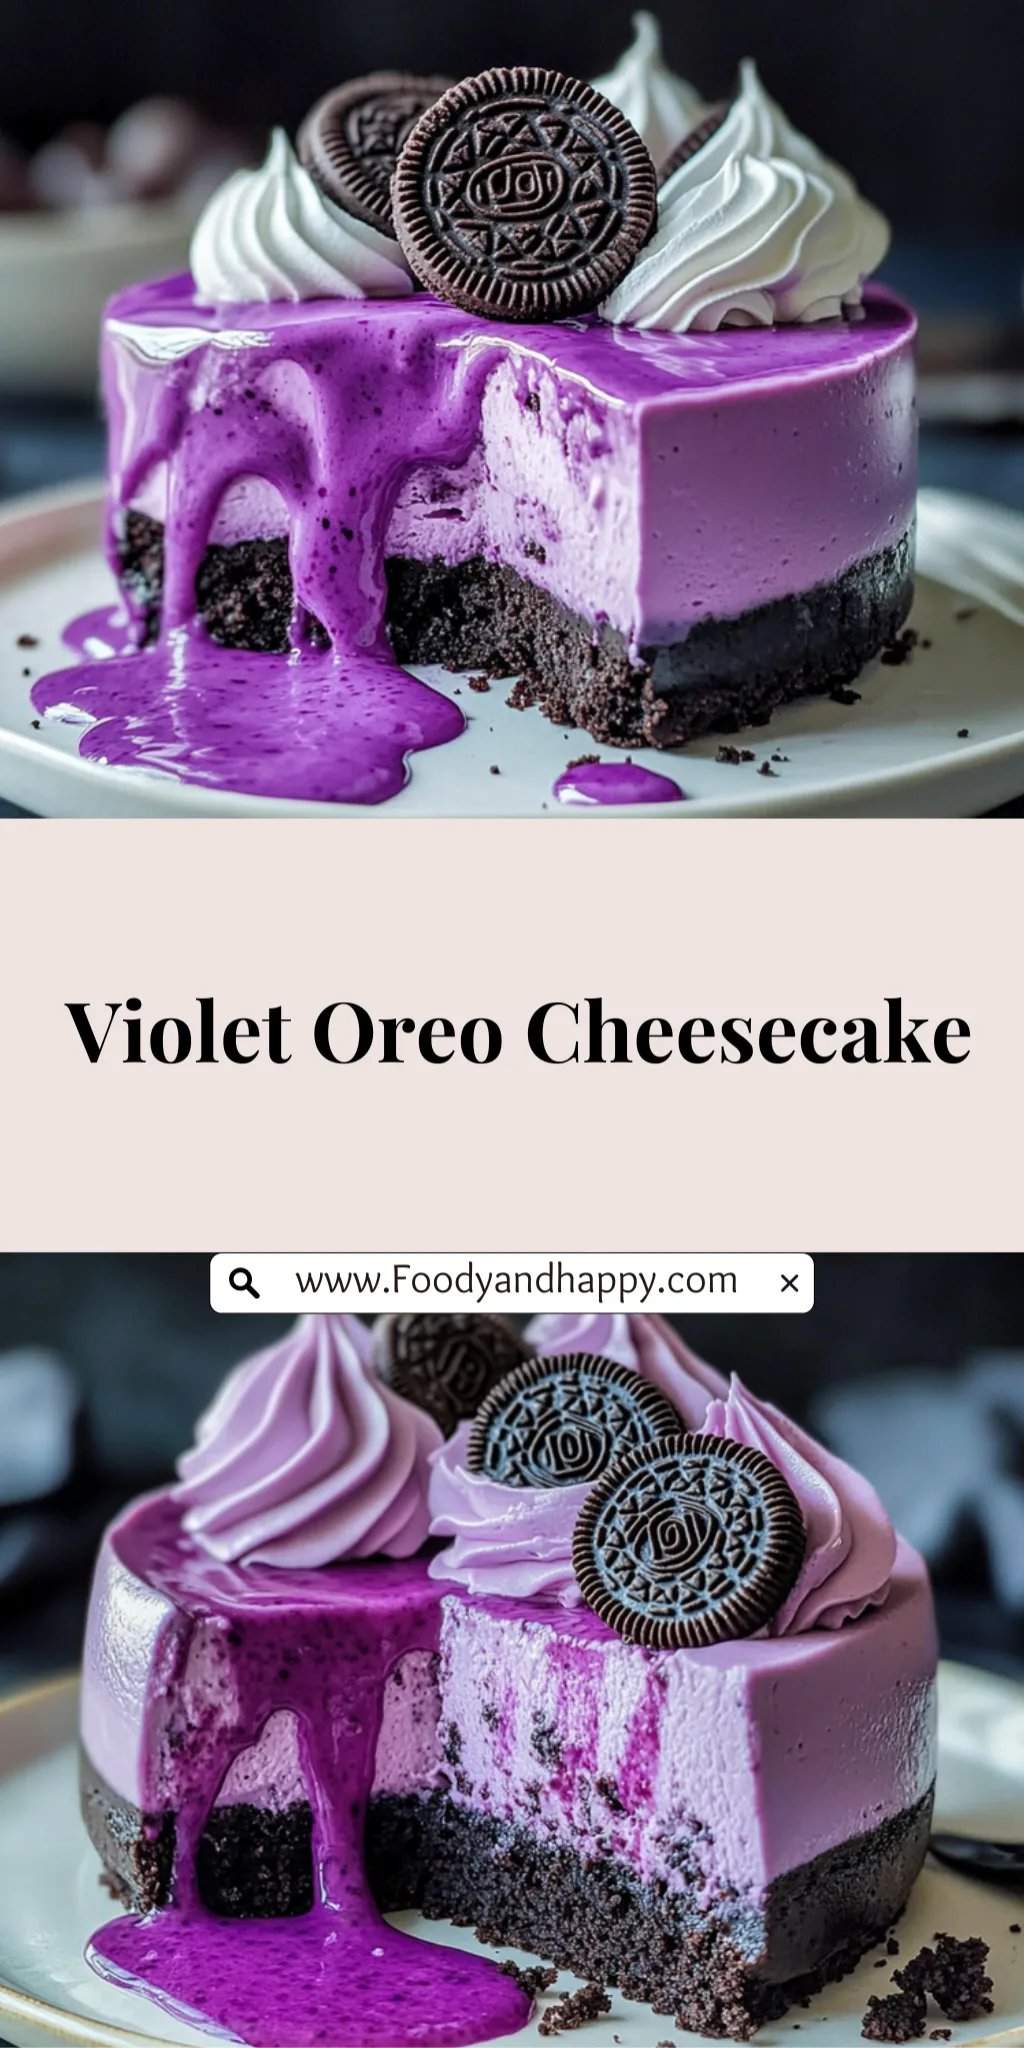
This Violet Oreo Cheesecake is not only a showstopper but also a perfect candidate for meal prep, allowing you to enjoy its delightful flavors without the last-minute rush. To get ahead, you can prepare the crust by combining 24 crushed Oreo cookies with 5 tablespoons of melted unsalted butter and pressing it into your springform pan up to 24 hours in advance. For the filling, mix 16 ounces of softened cream cheese with 1 cup of sugar and 1 teaspoon of vanilla extract until smooth, then fold in 1 cup of whipped heavy cream. You can also add the violet food coloring and dissolved gelatin ahead of time. Once assembled, refrigerate the cheesecake for at least four hours or up to three days before serving. When you’re ready to wow your guests, simply top it with 1 cup of whipped cream and garnish with four additional Oreo cookies. Enjoy the time-saving benefits while indulging in this stunning Violet Oreo Cheesecake!
Violet Oreo Cheesecake Recipe FAQs
What type of cream cheese should I use for the filling?
For the best texture and flavor, use full-fat cream cheese that is softened. This ensures a smooth and creamy filling that blends well with the other ingredients. Avoid low-fat or whipped cream cheese, as they can alter both the texture and taste of your decadent Violet Oreo Cheesecake.
How can I adjust the violet color in my cheesecake?
To achieve your desired hue, start with 1 tablespoon of violet food coloring and mix it into the filling. If you want a deeper color, gradually add more, mixing thoroughly until you reach the perfect shade. Just remember, a little goes a long way!
Can I freeze leftover cheesecake?
Yes! After your Violet Oreo Cheesecake has set, you can freeze it for up to 2 months. Wrap individual slices tightly in plastic wrap, then place them in an airtight container or freezer bag to prevent freezer burn. When you’re ready to enjoy it again, let it thaw in the refrigerator overnight for the best results.
How do I store my cheesecake after serving?
Store any leftover cheesecake in an airtight container in the refrigerator for up to 5 days. To maintain its freshness and avoid any sogginess from moisture, only top with whipped cream just before serving. This way, each slice remains as delightful as when you first made it!
What if my cheesecake doesn’t set properly?
If your cheesecake hasn’t set after chilling for at least 4 hours, it might need more time in the fridge or potentially more gelatin next time. Ensure you dissolve the gelatin completely before adding it to your mixture; this helps provide structure. If needed, leave it to chill overnight for a firmer consistency.
How many servings does this recipe make?
This recipe yields about 4 generous servings of Violet Oreo Cheesecake. If you’re feeding a larger crowd or have hearty dessert lovers at your table, consider doubling the recipe and using a larger springform pan to accommodate everyone’s sweet tooth!
Violet Oreo Cheesecake
Ingredients
Method
- Preheat the oven to 350°F (175°C). In a mixing bowl, combine crushed Oreo cookies and melted butter. Press the mixture into the bottom of a springform pan to form the crust.
- In a large mixing bowl, beat the softened cream cheese, sugar, and vanilla extract until smooth. Gradually fold in the whipped cream until well combined.
- Add the violet food coloring and dissolved gelatin to the mixture, stirring until evenly colored.
- Pour the filling over the prepared crust in the springform pan. Smooth the top with a spatula.
- Refrigerate for at least 4 hours, or until set.
- Once set, remove the cheesecake from the springform pan. Top with whipped cream and decorate with Oreo cookies before serving.
Nutrition
Notes
Tried this recipe?
Let us know how it was!Pin This Recipe for Later
Love this recipe? Save this pin to your Pinterest board so you have it ready whenever you need it!