
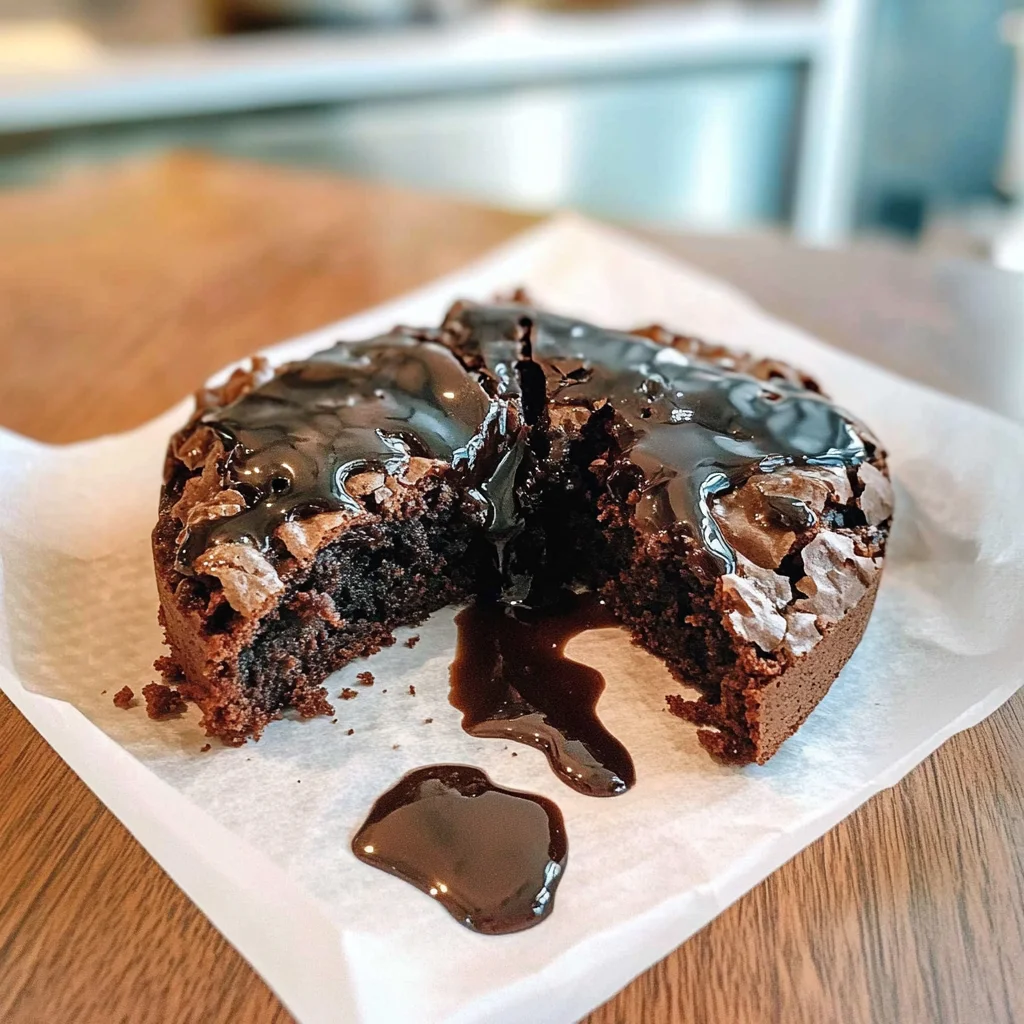
Imagine sinking your teeth into a slice of Chocolate Mochi Cake, where the rich, velvety chocolate mingles with the delightful chewiness of mochi, creating an explosion of flavors and textures that dance on your palate. The aroma wafts through the air, teasing your senses and making it impossible to resist a second (or third) helping.
This delightful dessert is perfect for those cozy family gatherings or a casual get-together with friends, where laughter fills the room and every bite brings back sweet memories. Picture yourself sharing stories while indulging in this unique treat, as each slice promises a blissful experience that’s as comforting as a warm hug on a rainy day.
Why Will You Keep Making Chocolate Mochi Cake?
Irresistible texture: The chewy mochi flour brings a unique twist to traditional cake, creating a delightful contrast with the rich chocolate.
Quick prep: With just 15 minutes of prep time, you can whip up this delicious dessert in no time, making it perfect for last-minute cravings.
Decadent flavor: The unsweetened cocoa powder and optional chocolate chips deliver a deep, satisfying chocolate flavor that will please any chocolate lover.
Versatile options: Use milk or your favorite non-dairy alternative to cater to dietary needs, ensuring everyone can enjoy this treat.
Crowd-pleaser: Whether for a family gathering or a personal indulgence, this Chocolate Mochi Cake is sure to impress and satisfy all palates!
Chocolate Mochi Cake Ingredients
- For the Cake Base
- 1 cup sweet rice flour (mochi flour) – This special flour gives the cake its signature chewy texture.
- 1 cup granulated sugar – Sweetens the cake beautifully while balancing the rich cocoa flavor.
- 1 cup cocoa powder (unsweetened) – Provides a deep, chocolatey richness that makes this dessert irresistible.
- 1 tsp baking powder – Helps the cake rise and achieve a light texture despite its density.
- For the Wet Ingredients
- 1 cup milk (or non-dairy alternative) – Adds moisture; choose your favorite plant-based milk for a vegan option.
- 1/4 cup vegetable oil – Ensures the cake stays moist and tender after baking.
- 2 large eggs – Bind the ingredients together and contribute to the cake’s structure.
- 1 tsp vanilla extract – Enhances the overall flavor profile with a warm, aromatic note.
- For Extra Chocolatey Goodness
- 1/2 cup chocolate chips (optional) – Stir in for bursts of melted chocolate throughout your Chocolate Mochi Cake.
How to Make Chocolate Mochi Cake
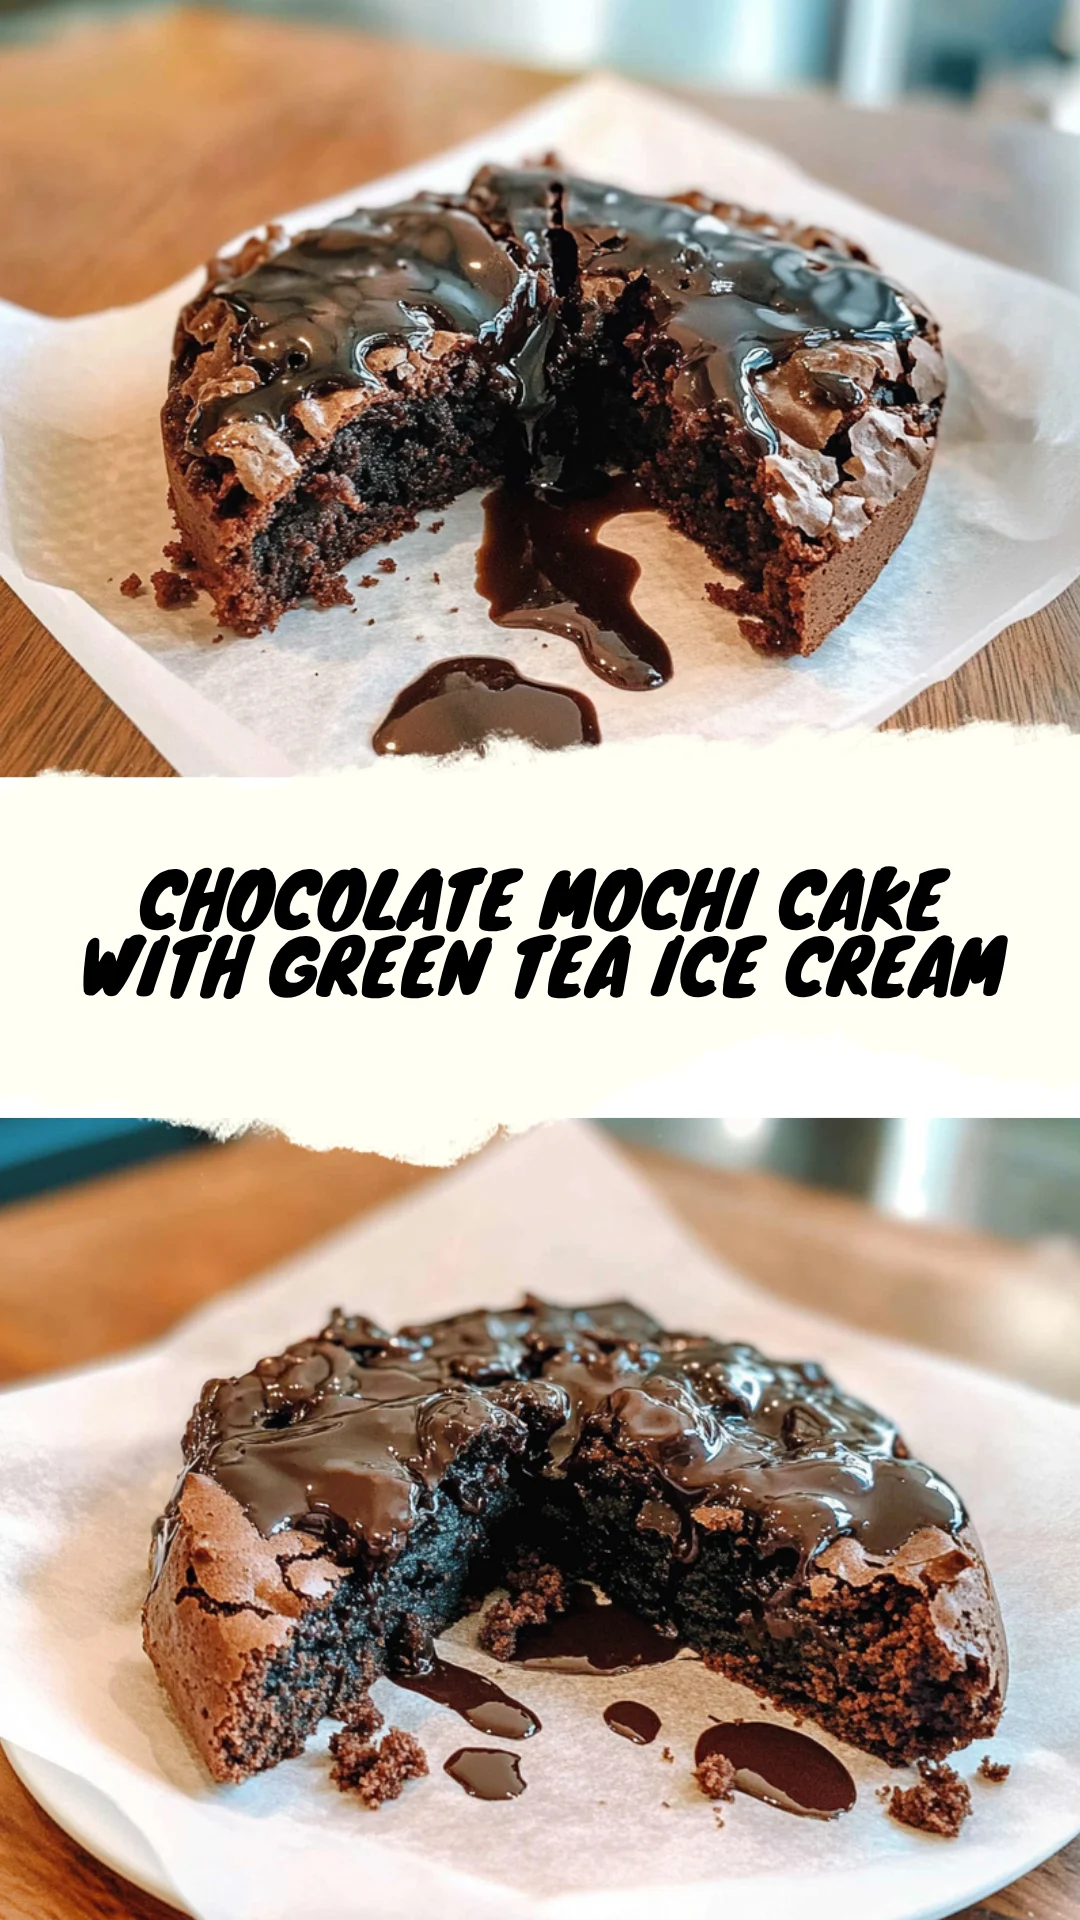
1. Preheat the oven to 350°F (175°C). Greasing and flouring a 9-inch round cake pan will ensure your Chocolate Mochi Cake releases easily after baking.
2. Whisk together the sweet rice flour (mochi flour), granulated sugar, cocoa powder, and baking powder in a mixing bowl. This dry mixture forms the base of your deliciously chewy cake.
3. Combine the milk (or non-dairy alternative), vegetable oil, eggs, and vanilla extract in another bowl. Mix well until everything is smoothly blended; this will add richness to your cake.
4. Pour the wet ingredients into the dry ingredients and stir until just combined. If you’re feeling indulgent, fold in the chocolate chips for extra chocolatey goodness!
5. Transfer the batter into your prepared cake pan, spreading it evenly. The batter should look glossy and rich—just waiting to transform into a delightful dessert.
6. Bake in the preheated oven for 30 minutes, or until a toothpick inserted in the center comes out clean. Your kitchen will be filled with an irresistible chocolate aroma!
7. Cool the cake in the pan for 10 minutes before transferring it to a wire rack to cool completely. This step helps maintain that lovely chewy texture we all love.
Optional: Dust with powdered sugar before serving for an elegant touch.
Exact quantities are listed in the recipe card below.
Tips for the Best Chocolate Mochi Cake
- Flour Choice: Use sweet rice flour (mochi flour) for the right chewy texture; regular flour will yield a different consistency.
- Mixing Technique: Avoid overmixing when combining wet and dry ingredients—this ensures your Chocolate Mochi Cake remains light and fluffy.
- Oven Temperature: Make sure your oven is fully preheated to 350°F (175°C) before baking; an unheated oven can lead to uneven cooking.
- Cooling Time: Allow the cake to cool in the pan before transferring it to a wire rack; this prevents sticking and helps maintain its structure.
- Chocolate Chips Optional: If adding chocolate chips, fold them gently into the batter to avoid breaking them apart, ensuring even distribution in your Chocolate Mochi Cake.
How to Store and Freeze Chocolate Mochi Cake
- Room Temperature: Keep your Chocolate Mochi Cake covered in plastic wrap or an airtight container for up to 2 days to maintain its chewy texture.
- Fridge: For longer freshness, store the cake in the fridge, wrapped tightly. It will last up to 5 days while retaining its delightful flavor.
- Freezer: If you want to save it for later, slice the cake and wrap individual pieces in plastic wrap, then place them in a freezer-safe bag. It can be frozen for up to 3 months.
- Reheating: When ready to enjoy, simply microwave a slice for 10-15 seconds or let it sit at room temperature for about 30 minutes before serving.
Chocolate Mochi Cake Your Way
Feel free to get creative with this recipe and tailor it to your taste buds!
- Gluten-Free: Replace sweet rice flour with a gluten-free all-purpose blend for a similar chewy texture. It ensures everyone can indulge without worry. Your guests will be none the wiser!
- Nutty Delight: Substitute half of the vegetable oil with almond or hazelnut oil for a subtle nutty flavor. This twist introduces a warm richness that pairs beautifully with chocolate.
- Dairy-Free: Use almond milk, coconut milk, or oat milk in place of regular milk for a dairy-free treat. These alternatives add unique flavors while keeping the cake moist and delicious.
- Extra Chocolatey: Increase cocoa powder to 1 1/2 cups and reduce sugar slightly for a more intense chocolate flavor. This variation is perfect for true chocolate lovers craving depth.
- Minty Fresh: Add 1 teaspoon of peppermint extract instead of vanilla for a refreshing twist. This will give your dessert a delightful surprise that feels like a winter wonderland.
- Spicy Kick: Incorporate 1/2 teaspoon of cayenne pepper or chili powder to the dry ingredients for a surprising heat in every bite. It’s an unexpected yet exciting combination that will leave your taste buds dancing!
- Fruit Fusion: Fold in 1 cup of mashed bananas or pureed pumpkin before baking to add moisture and natural sweetness. This enhances the texture while giving your cake a unique flavor profile.
- Zesty Citrus: Mix in the zest of one orange or lemon to brighten up the flavors of your cake. The citrus notes will elevate the chocolate, making each slice refreshing and vibrant!
Make Ahead Options
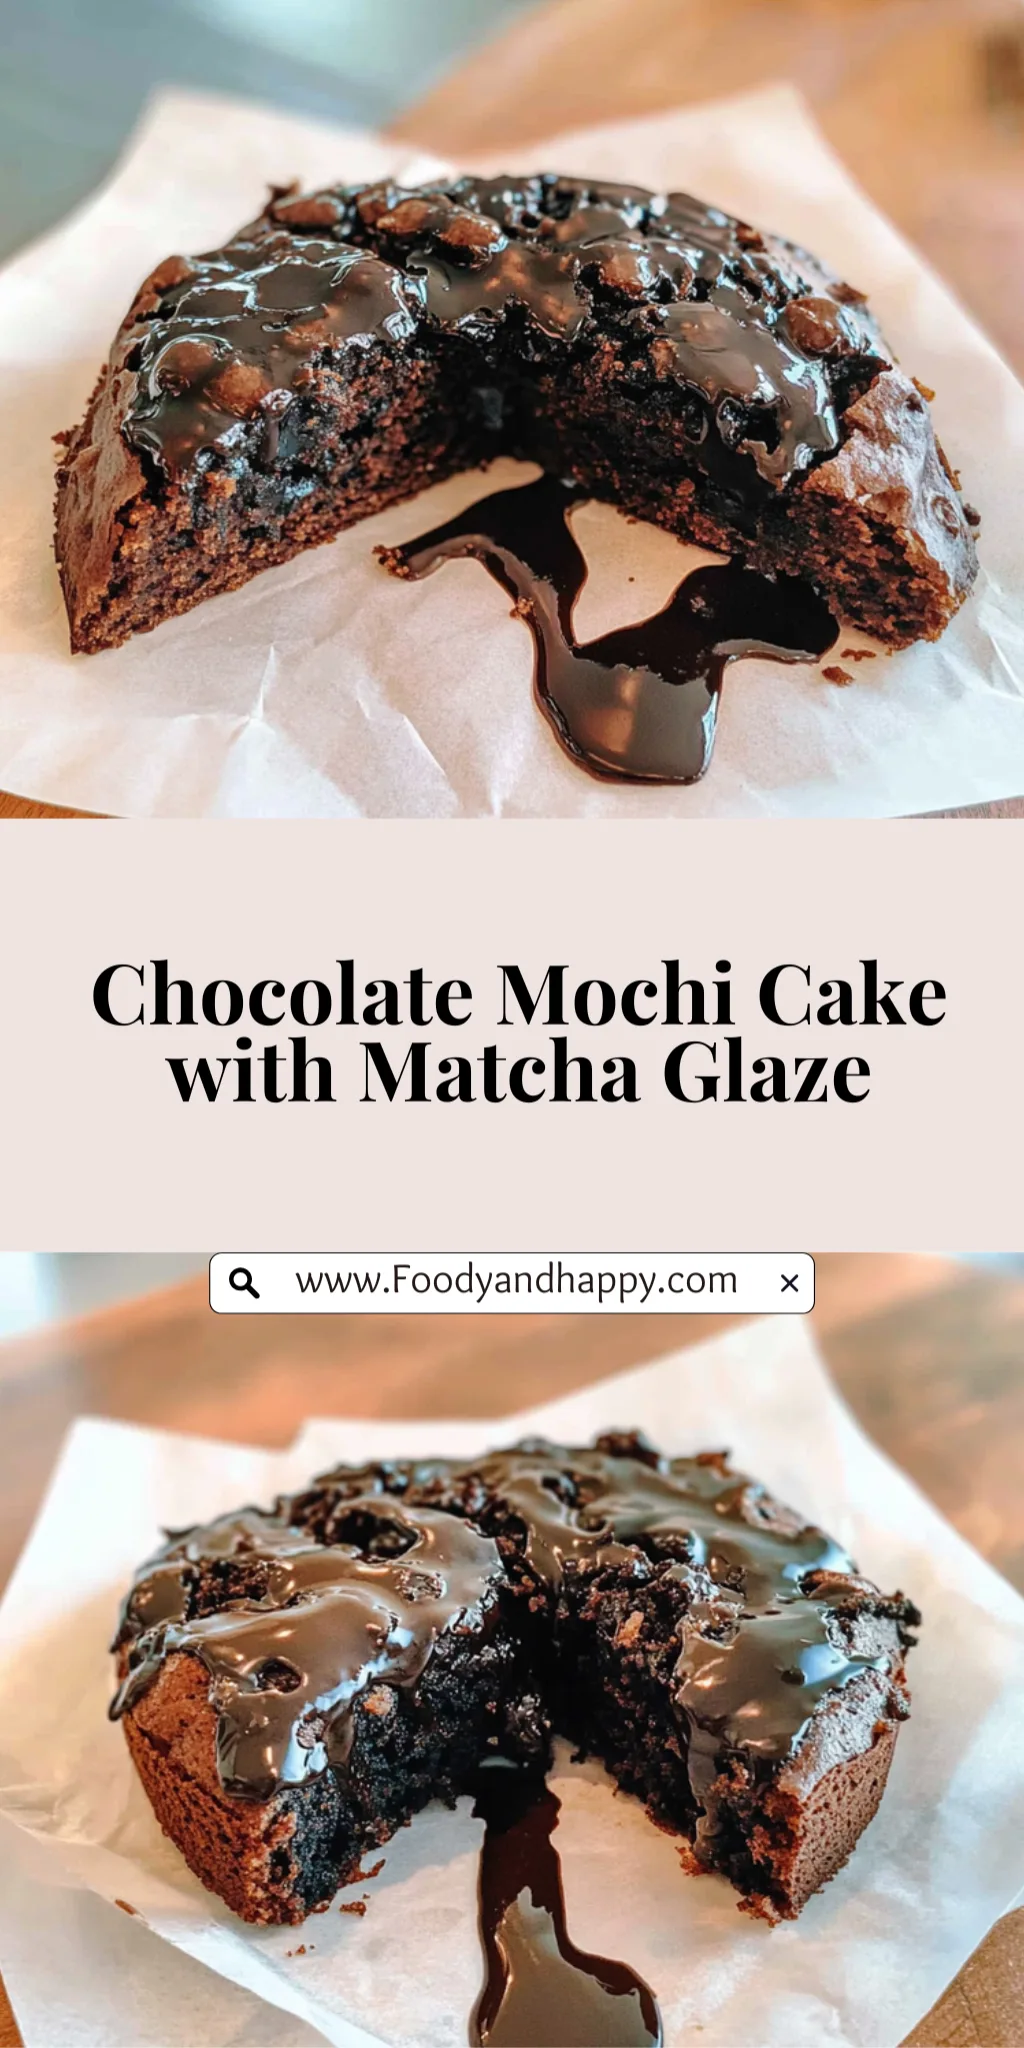
This Chocolate Mochi Cake is a fantastic choice for meal prep, ensuring you can enjoy its delightful flavors without the stress of last-minute baking. You can prepare the dry ingredients—1 cup sweet rice flour, 1 cup granulated sugar, 1 cup cocoa powder, and 1 tsp baking powder—up to 3 days in advance, storing them in an airtight container. Additionally, the wet ingredients, including 1 cup milk (or non-dairy alternative), 1/4 cup vegetable oil, 2 large eggs, and 1 tsp vanilla extract, can be prepped the night before and kept in the refrigerator. When you’re ready to bake, simply combine your prepped ingredients and pour the batter into your greased and floured cake pan. Bake as directed for about 30 minutes until a toothpick comes out clean. Allow it to cool for 10 minutes and then transfer it to a wire rack. This way, you’ll have a moist and chewy Chocolate Mochi Cake ready to impress at any moment!
Chocolate Mochi Cake Questions Answered
Can I use regular rice flour instead of sweet rice flour?
Using regular rice flour won’t give you the same chewy texture that sweet rice flour (mochi flour) provides. Sweet rice flour is essential for achieving that delightful mochi consistency. If you can’t find it, look for glutinous rice flour as a substitute.
What’s the best way to store leftover Chocolate Mochi Cake?
To keep your Chocolate Mochi Cake fresh, wrap it tightly in plastic wrap or store it in an airtight container at room temperature. It should stay delicious for about 2-3 days. If you want to keep it longer, consider refrigerating it, but remember that refrigeration can alter the cake’s texture slightly.
Can I freeze Chocolate Mochi Cake?
Absolutely! Once your cake has cooled completely, wrap it securely in plastic wrap and then place it in a freezer-safe container. It can be frozen for up to 2 months. When you’re ready to enjoy it again, simply thaw it overnight in the fridge or at room temperature.
What if my Chocolate Mochi Cake is too dense?
If your cake turns out denser than expected, it might be due to overmixing the batter or not measuring ingredients accurately. Be sure to mix until just combined and avoid packing the flour too tightly when measuring. Each ingredient plays a crucial role in achieving the perfect texture!
How many servings does this recipe yield?
This Chocolate Mochi Cake recipe serves about 4 people. If you’re hosting a gathering or simply want leftovers, feel free to double the recipe and bake two cakes at once—just ensure they have enough space in your oven!
Can I make this cake dairy-free?
Yes! Simply replace the milk with any non-dairy alternative like almond milk or oat milk. The cake will still turn out rich and flavorful while accommodating dietary preferences or restrictions!
Chocolate Mochi Cake
Ingredients
Method
- Preheat the oven to 350°F (175°C). Grease and flour a 9-inch round cake pan.
- In a mixing bowl, whisk together the sweet rice flour, sugar, cocoa powder, and baking powder.
- In another bowl, combine the milk, vegetable oil, eggs, and vanilla extract. Mix well.
- Pour the wet ingredients into the dry ingredients and stir until just combined. Fold in the chocolate chips if using.
- Pour the batter into the prepared cake pan.
- Bake in the preheated oven for 30 minutes, or until a toothpick inserted in the center comes out clean.
- Allow the cake to cool in the pan for 10 minutes, then transfer to a wire rack to cool completely.