
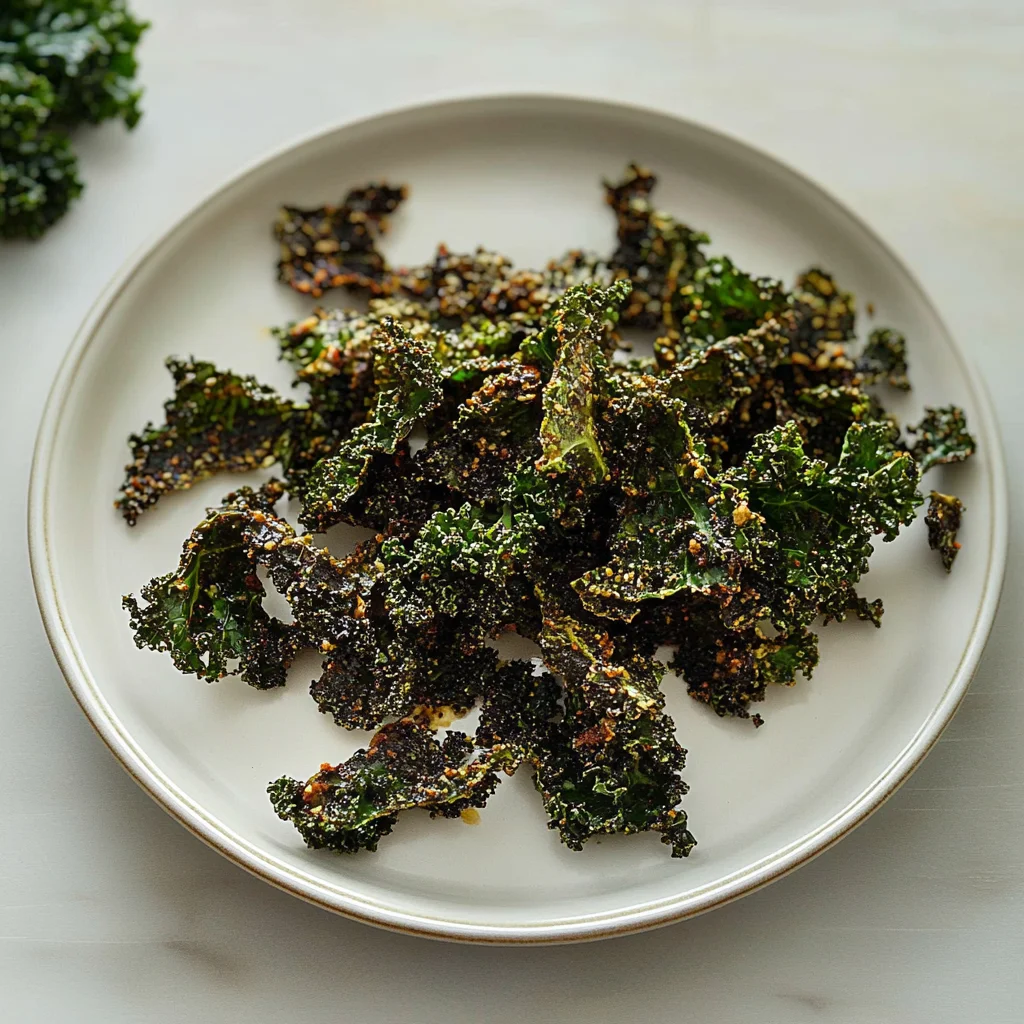
Imagine sinking your teeth into a crispy, golden kale chip that shatters with a satisfying crunch, releasing a burst of savory goodness. These kale chips not only tantalize the taste buds but also offer a guilt-free snacking experience that leaves you feeling light and energized, making them an irresistible alternative to traditional chips.
Reflecting on lazy afternoons spent munching on these delightful bites while binge-watching my favorite shows, I can’t help but smile at how they turned my snack game around. Whether it’s a cozy movie night or a lively gathering with friends, kale chips bring a playful twist to any occasion, inviting laughter and satisfaction with every nibble. Get ready to embark on a flavorful adventure that transforms this humble green into an extraordinary treat!
Why Will You Keep Making kale chips?
Crispy and crunchy: These kale chips deliver a satisfying texture that rivals any traditional snack.
Quick and easy: With just 10 minutes of prep and 20 minutes in the oven, you’ll have a deliciously healthy snack ready in no time!
Flavor-packed options: Whether you prefer classic sea salt or a hint of garlic and cheesy nutritional yeast, these chips can be customized to match your taste buds.
Nutrient-rich goodness: Packed with vitamins A, K, and C, these kale chips are not only tasty but also support your health goals.
Crowd-pleasing treat: Perfect for sharing at gatherings or enjoying solo, they’re sure to impress both friends and family!
kale chips Ingredients
- 1 bunch kale – Stems removed and leaves torn into bite-sized pieces for optimal crispiness.
- 1 tablespoon olive oil – Extra virgin olive oil adds a rich flavor while helping the kale become perfectly crispy.
- 1 teaspoon sea salt – Use to taste for enhancing the natural flavors of the kale chips.
- 1 teaspoon garlic powder (optional) – This adds a wonderful savory kick, perfect for those who love garlic.
- 1 teaspoon nutritional yeast (optional) – For a cheesy flavor without dairy, this is a fantastic addition to your kale chips.
How to Make kale chips

1. Preheat the oven to 300°F (150°C).
Set your oven to the right temperature so that your kale chips will bake evenly, achieving that perfect crispy texture.
2. Wash and thoroughly dry the kale leaves.
Rinse the kale well to remove any grit, then dry it completely; moisture can prevent crispiness!
3. Remove the stems and tear the leaves into bite-sized pieces.
Discarding the tough stems ensures a tender munch, while tearing the leaves allows for even seasoning and baking.
Season the Kale:
4. Toss the kale with olive oil, sea salt, garlic powder, and nutritional yeast until evenly coated.
In a mixing bowl, drizzle 1 tablespoon of extra virgin olive oil over your kale pieces, sprinkle with 1 teaspoon of sea salt, and add optional spices for flavor.
5. Spread the kale in a single layer on a baking sheet lined with parchment paper.
This step is crucial! A single layer helps each piece crisp up beautifully—no overlapping allowed!
6. Bake for 15-20 minutes, or until the edges are crispy but not burnt.
Keep an eye on them during the last few minutes; you want that lovely golden edge without sacrificing flavor.
7. Remove from the oven and let cool before serving.
Allowing your kale chips to cool enhances their crunchiness—patience is key for this delicious snack!
Optional: Sprinkle with additional sea salt before serving for an extra burst of flavor!
Exact quantities are listed in the recipe card below.
Tips for the Best kale chips
- Dry Thoroughly: Make sure to wash and dry the kale leaves completely; excess moisture can lead to soggy chips.
- Uniform Size: Tear the kale into similar-sized pieces to ensure even cooking and perfect crispiness for your kale chips.
- Watch the Bake Time: Keep a close eye on the chips around the 15-minute mark; they can quickly go from crispy to burnt if left unattended.
- Season Generously: Don’t skimp on seasoning! Taste your kale before baking and adjust salt, garlic powder, or nutritional yeast as needed.
- Cool Before Serving: Let the kale chips cool on the baking sheet after removing them from the oven; they’ll crisp up even more during this time.
How to Store and Freeze kale chips
- Room Temperature: Store kale chips in an airtight container at room temperature for up to 2 days to maintain their crispiness.
- Fridge: If you prefer longer storage, keep them in the refrigerator for up to 5 days, but they may lose some crunchiness.
- Freezer: For a longer shelf life, freeze kale chips in a freezer-safe bag for up to 3 months. Just ensure they’re fully cooled before freezing.
- Reheating: If they lose some crunch, reheat kale chips in the oven at 350°F (175°C) for about 5 minutes to revive their crisp texture.
kale chips Your Way
Feel free to let your creativity shine as you customize these delicious, crunchy bites to suit your taste!
- Spicy Kick: Add 1/2 teaspoon of cayenne pepper for a fiery crunch. This will elevate the flavor profile and bring a delightful heat that makes snacking exciting.
- Herb-Infused: Sprinkle in dried herbs like rosemary or thyme before baking. These aromatic additions create a fragrant experience that dances on your palate with each bite.
- Cheesy Twist: Use 1 tablespoon of grated Parmesan cheese instead of nutritional yeast. This twist adds a rich, savory depth that cheese lovers won’t be able to resist.
- Citrus Zest: Grate some lemon or lime zest over the kale before baking. The citrusy brightness will balance the richness and add a refreshing zing you’ll adore.
- Sweet & Savory: Drizzle with a little honey or maple syrup along with the olive oil. The sweet touch gives an unexpected contrast that’s absolutely delightful.
- Sesame Crunch: Toss in sesame seeds before baking for added texture. Their nutty flavor complements the kale perfectly, creating an irresistible snack.
- Smoky Flavor: Incorporate smoked paprika into your seasoning mix for a smoky essence. This adds complexity and warmth that transforms simple chips into something extraordinary.
- Asian-Inspired: Add soy sauce or tamari for an umami boost. This variation brings a delightful twist, giving you that savory punch reminiscent of your favorite Asian dishes.
Make Ahead Options
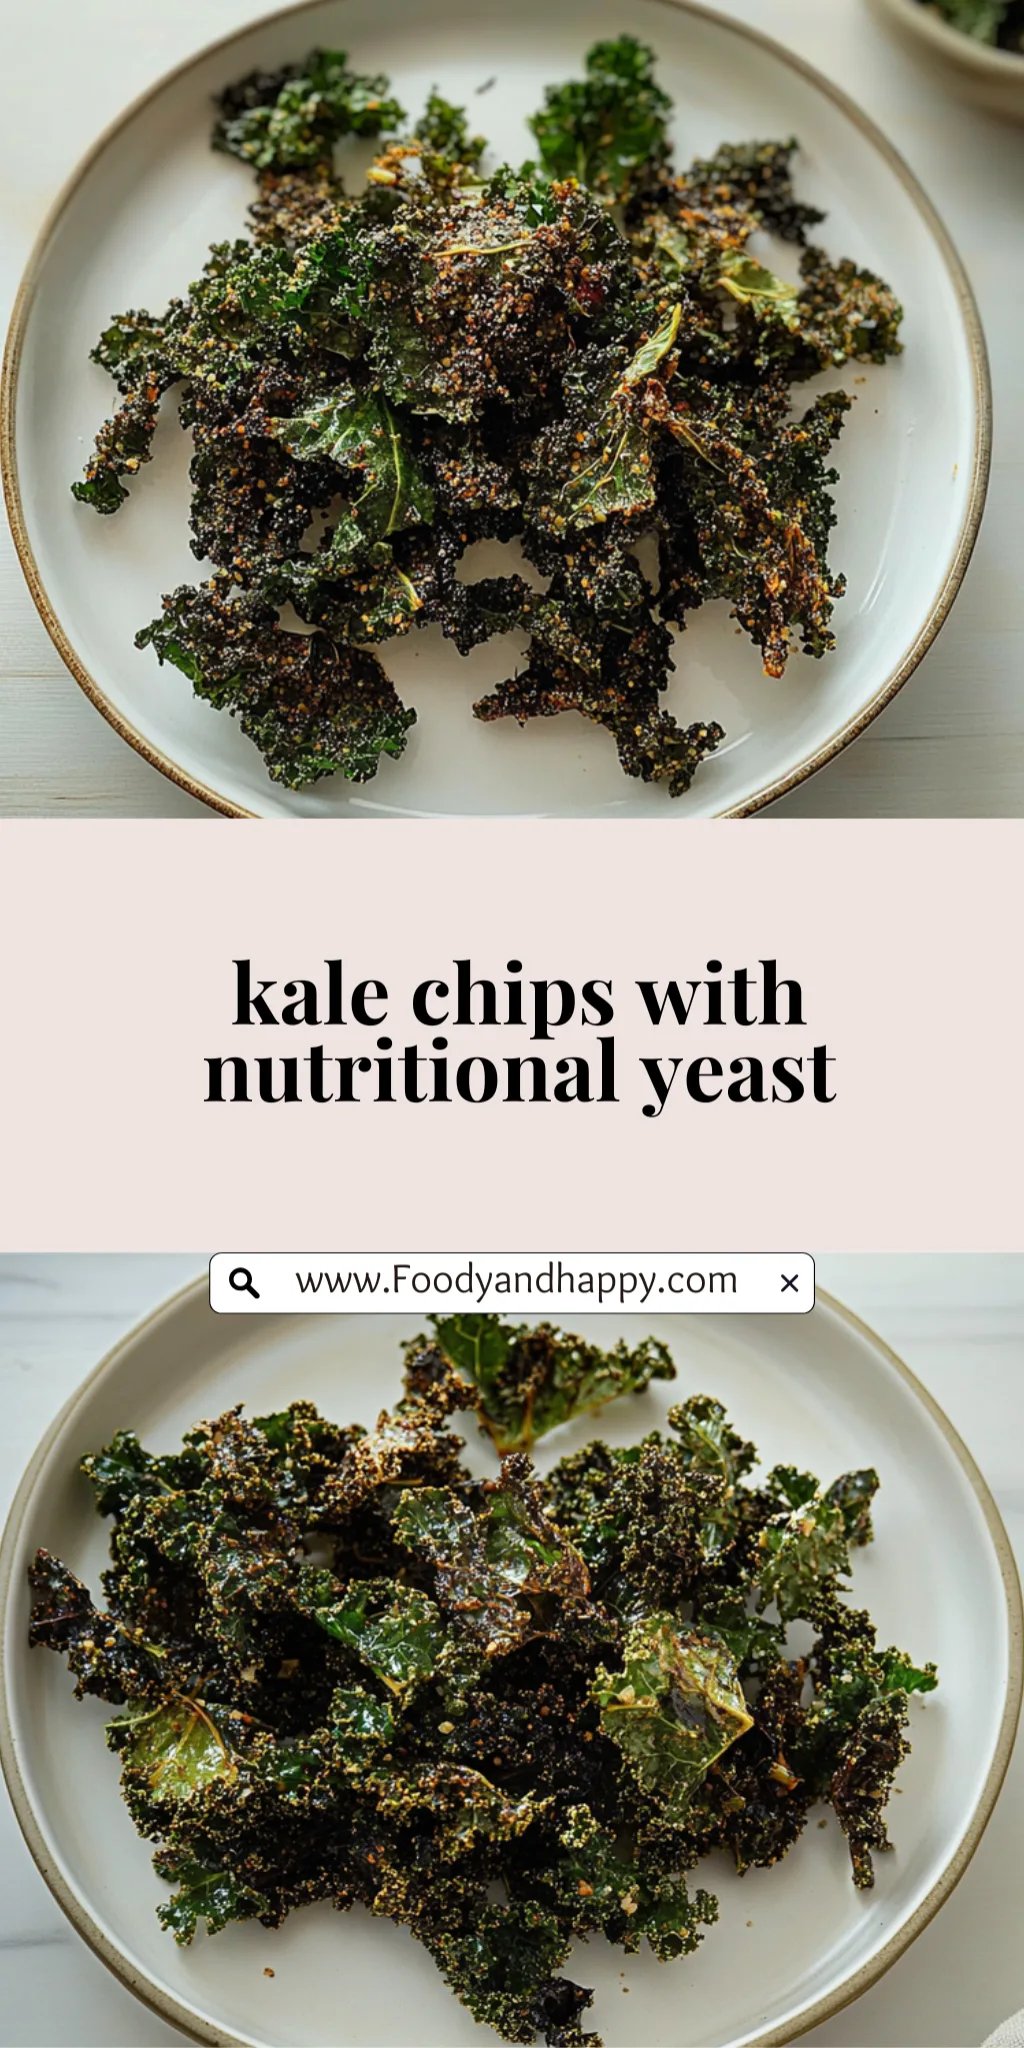
Preparing kale chips is a fantastic option for meal prep, providing a healthy snack that you can enjoy throughout the week. You can wash and thoroughly dry the kale leaves, remove the stems, and tear them into bite-sized pieces up to 24 hours in advance. Additionally, you can mix the kale with olive oil, sea salt, garlic powder, and nutritional yeast in a bowl and store it in an airtight container for up to 3 days. When you’re ready to serve, simply spread the seasoned kale on a baking sheet lined with parchment paper and bake at 300°F (150°C) for 15-20 minutes until crispy. This time-saving approach ensures your kale chips are fresh and delicious whenever you need a satisfying snack!
kale chips Recipe FAQs
How do I choose the best kale for my chips?
When selecting kale, look for vibrant, crisp leaves free from brown spots or wilting. Curly kale is popular for chips due to its texture, but you can also try lacinato (dinosaur) kale for a slightly different flavor and crunch. Freshness is key—opt for organic if possible!
Can I store leftover kale chips?
Absolutely! Store any leftover kale chips in an airtight container at room temperature. They will stay crispy for about 2–3 days. If they lose their crunch, you can pop them back in a preheated oven at 300°F (150°C) for 5–10 minutes to revive them.
Is it possible to freeze kale chips?
While freezing is an option, it’s not ideal as it can affect the texture of your crispy snacks. If you do freeze them, make sure they’re completely cool before sealing in a freezer bag. When you’re ready to enjoy, bake them straight from the freezer at 300°F (150°C) until crispy again.
What should I do if my kale chips burn easily?
If you find your kale chips are burning, it’s likely due to oven temperature or cooking time. Keep an eye on them as they bake—start checking around the 15-minute mark. Also, make sure to spread the kale evenly and avoid overcrowding on the baking sheet; this helps with even cooking.
Can I make these kale chips dietary-friendly?
Absolutely! These kale chips are already vegan and gluten-free. To keep them low-sodium, simply adjust the sea salt or omit it altogether. The nutritional yeast adds a cheesy flavor without dairy, making it perfect for various dietary needs.
What’s a good serving size for these kale chips?
This recipe yields about 4 servings, with each serving approximately 50 calories. Feel free to double or triple the recipe if you’re serving a crowd or just want a larger batch to snack on throughout the week!
Kale Chips
Ingredients
Method
- Preheat the oven to 300°F (150°C).
- Wash and thoroughly dry the kale leaves.
- Remove the stems and tear the leaves into bite-sized pieces.
- In a mixing bowl, toss the kale with olive oil, sea salt, garlic powder, and nutritional yeast until evenly coated.
- Spread the kale in a single layer on a baking sheet lined with parchment paper.
- Bake for 15-20 minutes, or until the edges are crispy but not burnt.
- Remove from the oven and let cool before serving.