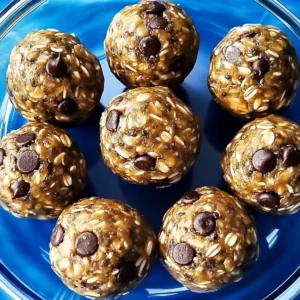

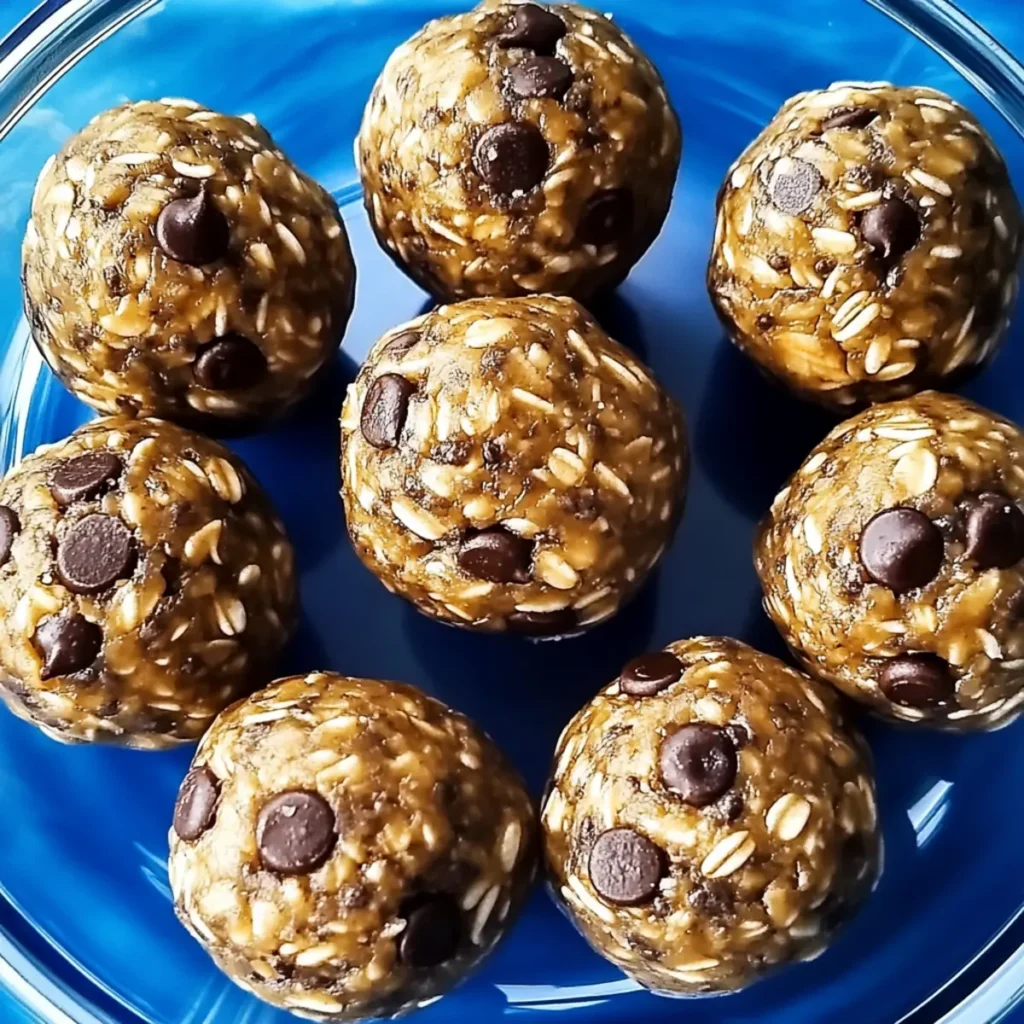
The moment you take a bite of these No-Bake Protein Balls, it feels like your taste buds have joined a joyous little party! They’re a chewy, nutty explosion that hints at the delightful sweetness of chocolate, all wrapped up in one scrumptious bite. The aroma of creamy peanut butter combined with a touch of honey is simply intoxicating, making this treat not just a snack but an experience. Picture yourself indulging after a workout or during a Netflix binge – this recipe is as flexible as your yoga instructor!
It’s funny how a simple recipe can trigger memories. I still remember the first time I attempted to create my own snack with a bunch of ingredients lying around. My kitchen turned into a sticky battleground. Let’s just say, the protein powder explosion left me more in need of a vacuum than a snack! Fast forward to today, and these No-Bake Protein Balls have become my go-to snack for both fitness and fun. They’re perfect for lazy days or those mid-afternoon slumps when you just need a quick pick-me-up – all you need is ten minutes and a little bit of mixing magic!
Why You'll Love This No-Bake Protein Balls
- This incredible No-Bake Protein Balls transforms simple everyday ingredients into restaurant-quality flavors that will blow your mind completely.
- Foolproof recipe techniques guarantee perfect results every single time, making even novice cooks feel like professional chefs instantly.
- Stunning visual appeal with gorgeous colors and mouthwatering aromas creates the ultimate Instagram-worthy dish for any special occasion.
- Endlessly adaptable for different dietary needs while working beautifully for meal prep, date nights, or entertaining large groups effortlessly.
Ingredients for No-Bake Protein Balls
Here’s what you’ll need to make this delicious No-Bake Protein Balls:
1.5 cups whole rolled oats – These form the base of our protein balls, offering a hearty texture and fiber, making you feel satisfied longer.
1 cup creamy natural peanut butter – Choose a good quality peanut butter for a rich flavor; this acts as a delightful binder.
0.25 cups ground flaxseed – Packed with omega-3s, this adds nutritional benefits while giving a nice nutty taste.
0.25 cups honey – This natural sweetener not only enhances flavor but also helps in binding the ingredients together beautifully.
2 scoops protein powder (approximately 0.25 cups) – Choose your favorite flavor or type; it’ll give your balls a healthy protein punch!
1 teaspoon vanilla extract – A splash of vanilla enhances the overall flavor profile, making it more inviting.
6 tablespoons mini chocolate chips – Because life is always better with a little chocolate! These add decadent little bursts of flavor.
How to Make No-Bake Protein Balls
Follow these simple steps to prepare this delicious No-Bake Protein Balls:
Step 1: Gather Your Ingredients
First things first, gather all your ingredients. Ensure you have a large mixing bowl and a cookie scoop on standby.
Step 2: Mix the Ingredients
In your mixing bowl, combine the oats, peanut butter, ground flaxseed, honey, protein powder, vanilla extract, and half the mini chocolate chips. The good news? No fancy gadgets are needed – just your sturdy spoon or spatula! Expect a thick, somewhat sticky mixture that you’ll be able to mold later on.
Step 3: Form the Balls
Use a 2-tablespoon cookie scoop to portion out the mixture. With slightly damp hands, roll each portion into balls. How easy is that? Imagine your hands coated in this delicious concoction; it’s downright satisfying!
Step 4: Chill to Perfection
Once rolled, place your protein balls on a lined baking sheet or plate. Pop them in the fridge and let them chill for 1 to 2 hours. This step is crucial as it helps solidify their shape and makes them easier to handle.
Step 5: Enjoy or Store
After chilling, your No-Bake Protein Balls are ready to be devoured! They can be kept in the fridge for up to a week or tossed in the freezer for a quick snack later. Just be sure to separate them with parchment paper if you freeze them; nobody likes a stuck-together ball!
With these simple steps, you’ll have made a delightful snack that’s easy to grab on the go and perfect after a workout or whenever you need a sweet boost.
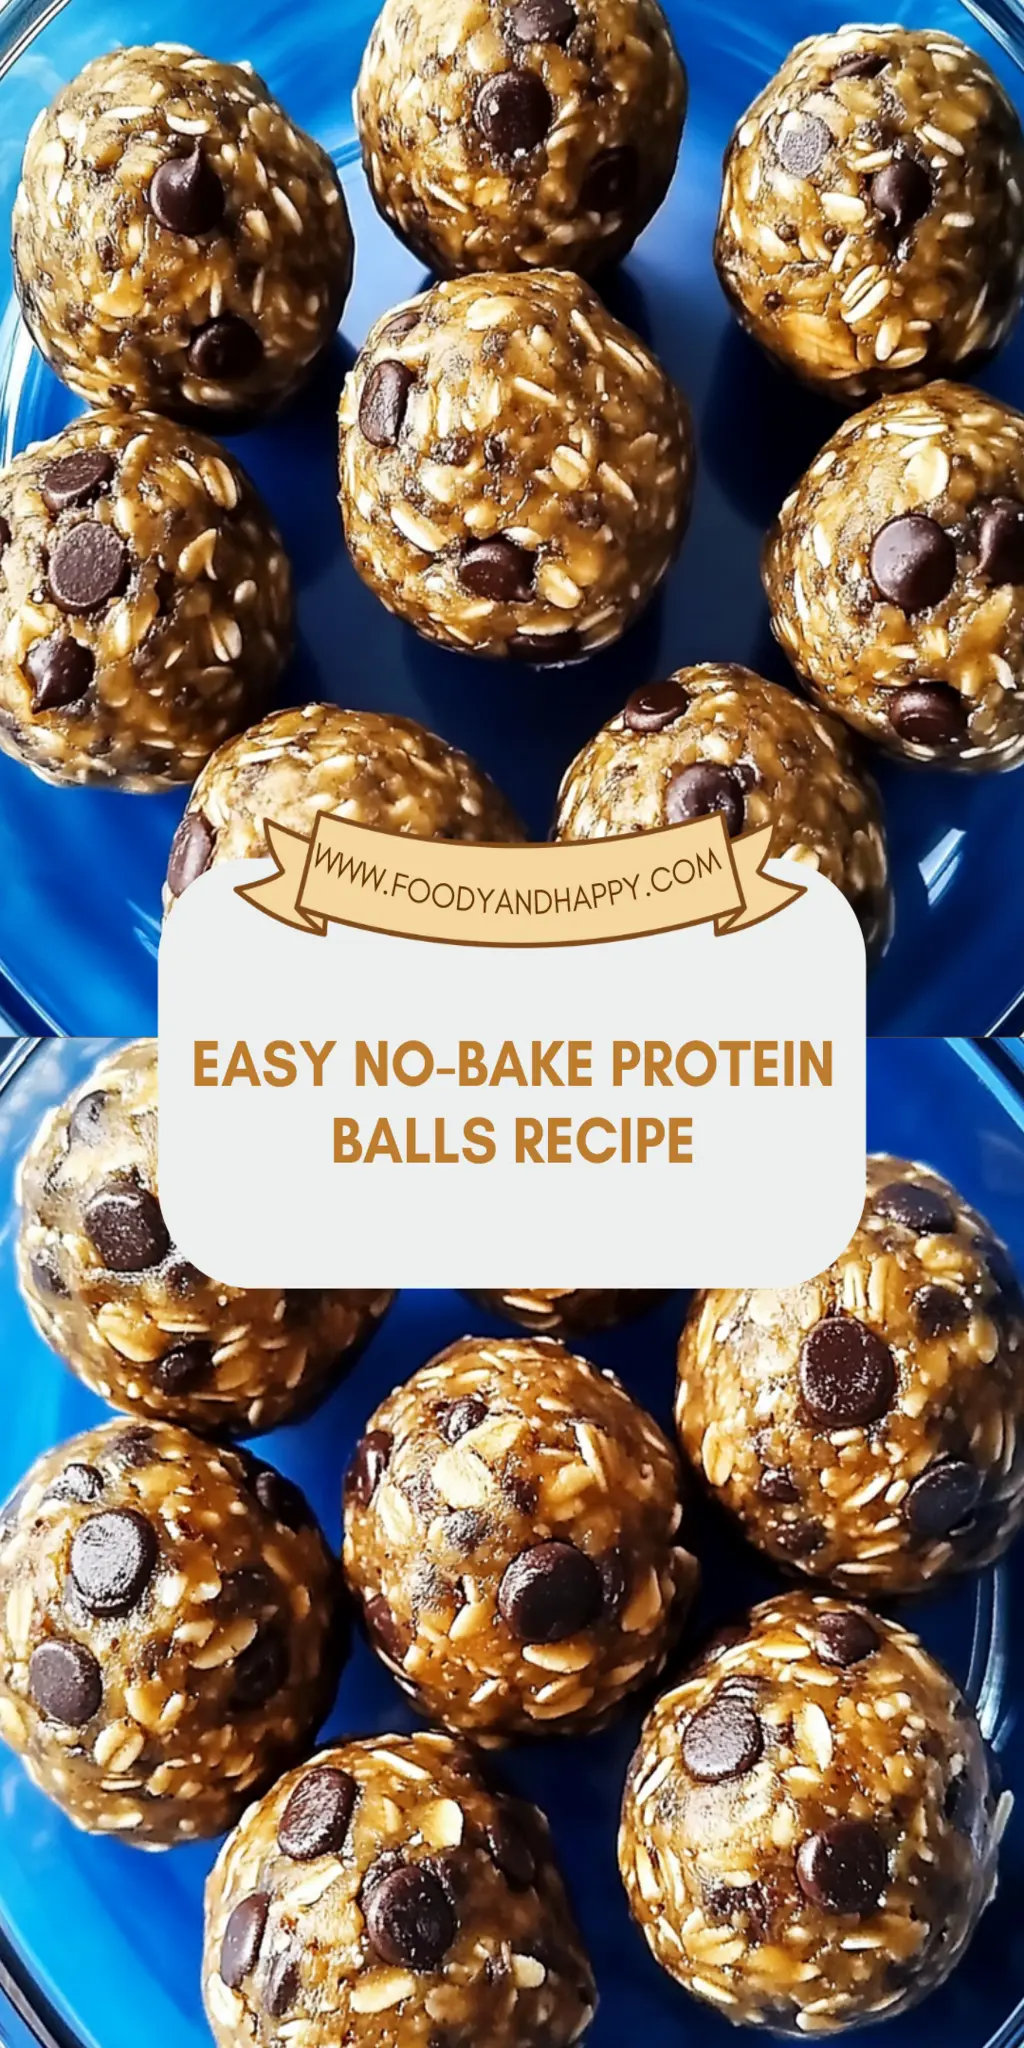
You Must Know About No-Bake Protein Balls This showstopping No-Bake Protein Balls delivers restaurant-quality results using simple ingredients you probably already have at home. The perfect balance of textures and flavors creates an unforgettable dining experience that will have everyone asking for seconds. Picture-perfect presentation with vibrant colors makes this dish absolutely Instagram-worthy and guaranteed to impress any dinner guest. Incredibly versatile recipe that works beautifully for weeknight dinners, meal prep, special occasions, or even outdoor entertaining sessions.
Perfecting No-Bake Protein Balls Cooking Process
To streamline making No-Bake Protein Balls, start by mixing the dry ingredients first, then add the wet ingredients. This ensures even distribution of flavors and makes the mixing process smoother.
Add Your Touch to No-Bake Protein Balls
Feel free to swap peanut butter for almond or cashew butter for a unique twist. Additional options could include coconut flakes, dried fruits, or different flavored protein powders to suit your taste.
Storing & Reheating No-Bake Protein Balls
Store these delicious No-Bake Protein Balls in an airtight container in the fridge for up to a week or freeze them for up to three months. No reheating is necessary; just grab and enjoy!
Chef's Helpful Tips for No-Bake Protein Balls
- This professional-quality No-Bake Protein Balls relies on precise timing and temperature control to achieve restaurant-standard results consistently.
- Master the art of mise en place by prepping all ingredients beforehand, ensuring smooth execution and preventing any last-minute cooking disasters.
- The secret lies in layering flavors throughout the cooking process rather than seasoning only at the end for maximum depth.
- Pro tip: let the finished dish rest for optimal texture and flavor development before serving to hungry guests waiting eagerly.
It was a rainy Sunday afternoon when I first made No-Bake Protein Balls. My friends raved about them, insisting they were the perfect snack for movie marathons. It’s moments like these that warm my heart and inspire my cooking.
FAQs About No-Bake Protein Balls
What are No-Bake Protein Balls?
No-Bake Protein Balls are a convenient, nutritious snack made without the need for an oven. Comprised mainly of oats, nut butter, and protein powder, these tasty bites pack a punch of energy and flavor. They’re perfect for on-the-go snacking or as a nutritious addition to your meal prep. Not only are they quick to prepare, but they also offer a healthy balance of protein, carbohydrates, and healthy fats, making them a favorite among fitness enthusiasts and busy families alike.
How do I make No-Bake Protein Balls?
To make No-Bake Protein Balls, start by mixing whole rolled oats, peanut butter, ground flaxseed, honey, protein powder, vanilla extract, and chocolate chips in a large bowl. The mixture will come together into a thick mass. Scoop it out using a 2-tablespoon cookie scoop and roll it into balls with your hands. After rolling, chill the balls in the refrigerator for one to two hours until they firm up. Enjoy them as a nutritious snack whenever you need a quick energy boost.
Are No-Bake Protein Balls healthy?
Yes, No-Bake Protein Balls are a healthy snacking option. They are rich in protein due to the addition of protein powder and nut butter, while oats provide a good source of fiber. Furthermore, ground flaxseed adds omega-3 fatty acids, which are beneficial for heart health. The use of natural sweeteners like honey ensures you avoid refined sugars. As long as you enjoy them in moderation, they can be a delicious part of a balanced diet.
How do I store No-Bake Protein Balls?
To store No-Bake Protein Balls, place them in an airtight container in the refrigerator. They will stay fresh for up to a week. For longer storage, you can freeze them. Just keep the balls in a freezer-safe container or bag, and they can last for up to three months. No need to worry about reheating; just take out a ball whenever you need a quick snack and enjoy!
Conclusion for No-Bake Protein Balls
In summary, No-Bake Protein Balls are not only easy to make but also an excellent addition to your healthy snack repertoire. With simple ingredients and a quick preparation time, they are perfect for anyone looking to have a nutritious option readily available. Whether you need a boost before your workout or a sweet treat for movie night, these protein balls fit the bill perfectly. Grab some today and see how they can keep your snacking both healthy and delicious!
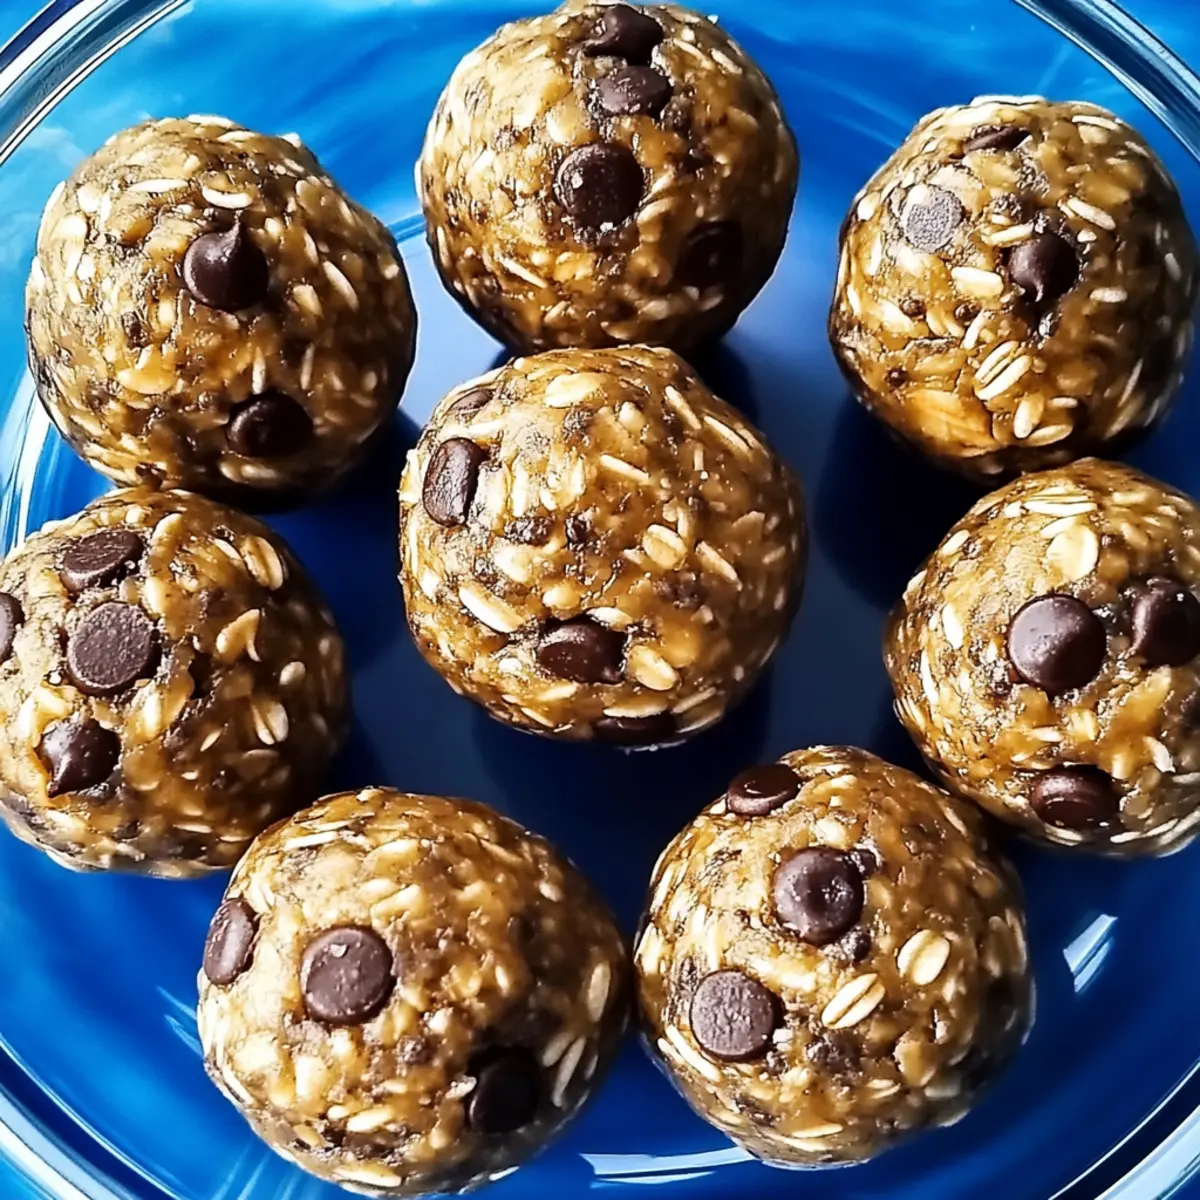
No-Bake Protein Balls
Ingredients
Equipment
Method
- In a large bowl, mix together the oats, peanut butter, flax, honey, protein powder, vanilla, and chocolate chips. The mixture will be thick.
- Use a 2-tablespoon cookie scoop to scoop the mixture, then use your hands to roll it into balls.
- Chill in the fridge for 1 to 2 hours, or until firm.
- The protein balls keep well in the fridge for up to a week. They also freeze well.
Nutrition
Notes
Tried this recipe?
Let us know how it was!Pin This Recipe for Later
Love this recipe? Save this pin to your Pinterest board so you have it ready whenever you need it!